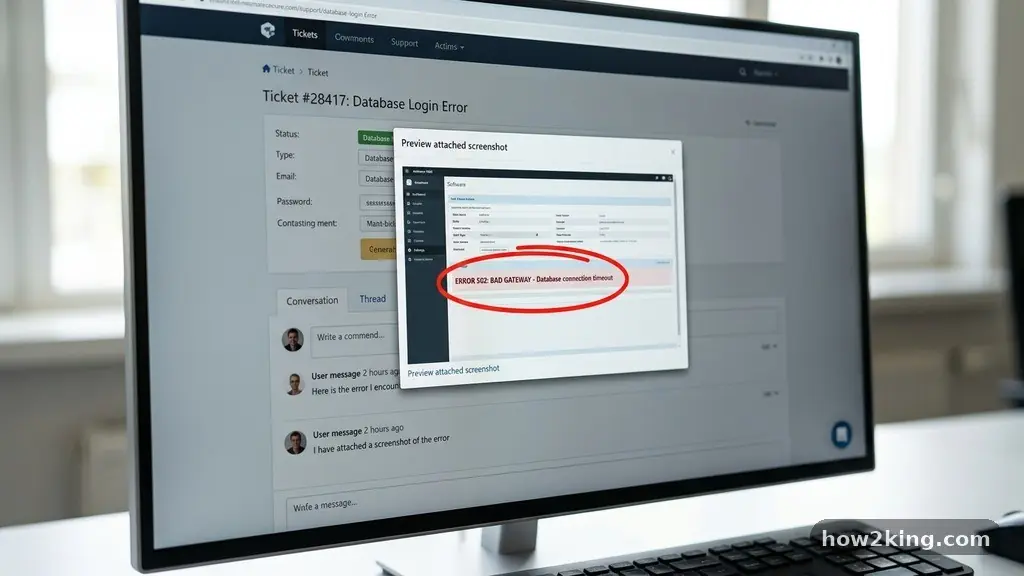
Learning the art of taking better screenshots when explaining a problem online can save you hours of back-and-forth communication with support teams or colleagues. Whether you are troubleshooting a software glitch or reporting a bug to a developer, a clear visual record is worth a thousand words of text.
By focusing on clarity, context, and privacy, you transform a confusing email thread into a quick, actionable solution. This article breaks down the essential techniques for capturing high-quality images that get your message across effectively, ensuring that the person on the other end understands exactly what you are experiencing on your digital device.
The Importance of Visual Clarity in Support Tickets
When you encounter a technical issue, your primary goal is to provide enough information for a support agent to replicate the error. A blurry or poorly cropped image often leads to more questions, delaying the resolution of your problem. High-quality visuals act as the bridge between your experience and the technician’s understanding.
Resolution and detail are the most critical factors here. If a screenshot is too small or pixelated, the error message or code you are trying to highlight becomes unreadable. Always capture the full area surrounding the issue so the recipient can see the path you took to get there.
Context is just as valuable as the error itself. If the problem occurs within a specific menu or during a loading sequence, include the surrounding navigation bars. This helps the person troubleshooting your issue identify which version of the software or browser you are currently running.
Selecting the Right Tools for Your Device
Every modern operating system comes with a built-in tool that handles screen captures with ease. You do not need to install complex third-party software to start taking better screenshots when explaining a problem online. Knowing your system’s native shortcuts is the fastest way to improve your workflow.
For Windows users, the Snipping Tool has evolved into a powerful utility that allows for delayed captures and simple annotations. Pressing the Windows key, Shift, and S simultaneously opens a selection menu that lets you grab specific windows or rectangular areas. On a Mac, the command Shift, Command, and 4 keys provide a crosshair cursor for precise selection.
Mobile devices have their own standardized methods that are equally effective for reporting issues. Most Android and iOS devices rely on a combination of physical buttons, such as the power and volume keys, to capture the screen. If you are using a mobile app, ensure the orientation of the phone matches the layout of the interface you are discussing.
What to Include and What to Exclude
Privacy and relevance are the two pillars of a professional screenshot. While it is tempting to capture the entire monitor, this often includes sensitive personal information that you should not share with strangers. Focus only on the specific window or interface element that is malfunctioning.
Before sending your file, check for any visible email addresses, passwords, or private account numbers. Most modern operating systems include basic editing tools that let you blur or black out sensitive data before you save the file. If you are unsure about your privacy, it is always safer to crop the image tightly around the error message.
Consistency is also key when you are documenting a recurring problem. If you need to show a series of steps, try to keep the same window size throughout your screenshots. This makes it easier for the support team to track your movements across different tabs or menus.
Optimizing File Formats and Sizes
Not all image formats are created equal when it comes to technical support. PNG is typically the gold standard for screenshots because it uses lossless compression, meaning the text remains sharp and readable. JPEG, while smaller in file size, often introduces artifacts that can blur fine details around text.
If you are uploading your images to a support portal, be mindful of file size limits. Some platforms have strict caps on how large an image can be, which might force you to compress your files. If you must compress, try to stick to PNG or use a reputable online tool to balance quality and size.
You can find official documentation on image handling through resources like the World Wide Web Consortium (W3C) regarding web formats. Understanding these basics ensures your files load quickly for the recipient. Remember that a fast-loading, clear image is much more likely to be reviewed immediately than a massive, slow-loading file.
Common Mistakes to Avoid
Many users struggle because they capture their screen in a way that obscures the actual problem. One of the most common errors is taking a photo of a computer screen with a mobile phone camera. This introduces glare, moiré patterns, and distortion that make the content almost impossible to read.
Another mistake is failing to capture the right timing. If the error is a pop-up that disappears after a few seconds, you might need to use a delayed capture function. Most built-in tools allow you to set a 3-second or 5-second timer to give you enough time to trigger the error before the screenshot is taken.
Finally, avoid sending a wall of unannotated images. If your problem involves a specific button or setting, use your tool’s drawing features to add a simple arrow or circle. This guides the reader’s eye directly to the location of the issue, saving them from hunting for the error themselves.
Data Comparison of Capture Methods
To understand how different methods perform, it is helpful to look at how they compare in terms of speed and utility. The following table highlights the strengths of various approaches used to document issues.
| Method | Best Use Case | Ease of Use | Editing Capability |
|---|---|---|---|
| Native Hotkeys | Quick, full-screen captures | Excellent | Minimal |
| Snipping Tool | Specific window errors | High | Moderate |
| Browser Extensions | Full webpage long-scrolling | Medium | Advanced |
| Mobile Hardware Keys | App crashes on phone | High | Basic |
Essential Checklist for Better Communication
When you are ready to send your report, follow this simple checklist to ensure your communication is as helpful as possible. Following these steps consistently will make you a favorite among support staff, as you are providing exactly what they need to help you.
- Verify the error message is fully visible and not cut off by the window edge.
- Ensure the timestamp or relevant system status is included if the issue is time-sensitive.
- Blur out any personal information like account numbers, physical addresses, or private names.
- Use an arrow or a box to highlight the specific area where the problem occurs.
- Save the file with a descriptive name, such as “Error_Login_Screen_01.png” instead of “Screenshot1.png”.
- Check if the platform requires a specific file format before you begin uploading.
Frequently Asked Questions
How can I take a screenshot of a long webpage that doesn’t fit on my screen?
You can use specialized browser extensions or built-in developer tools to capture a “full page” screenshot. Many browsers, like Firefox or Chrome, have built-in capture features in their developer menus that can save an entire scrolling page as a single image file.
Is it better to send a video or a screenshot?
If the problem involves a complex series of interactions or a specific animation, a short screen recording is often more useful than a static image. However, for simple error messages or static interface bugs, a high-quality screenshot is usually preferred because it is faster to open and analyze.
What should I do if my screenshot is too large to upload?
You can resize the image using a basic photo editor or use an online compression tool to reduce the file size. Alternatively, you can crop the unnecessary parts of the image to focus only on the relevant error, which naturally reduces the final file size.
Can I annotate a screenshot on my phone?
Yes, both iOS and Android have built-in markup tools that appear immediately after you take a screenshot. You can tap the thumbnail that appears in the corner of your screen to access pens, markers, and shapes to highlight your issue before saving or sending it.
Why do my screenshots look blurry when I send them via email?
Some email clients automatically compress images to save bandwidth, which ruins the clarity of text-heavy screenshots. To avoid this, try sending the file as an attachment rather than pasting it directly into the body of the email, or use a cloud storage link to share the original file.
Improving Your Troubleshooting Workflow
Mastering the process of taking better screenshots when explaining a problem online is a skill that pays dividends in efficiency. By focusing on clear, annotated, and privacy-conscious images, you remove the guesswork from technical support. You help the person helping you, which almost always leads to a faster and more accurate resolution.
Start by using your device’s native tools and keep your captures focused, clean, and relevant. Next time you face a digital hurdle, you will be prepared to document it like a pro. If you have any specific tools you prefer for your own workflow, feel free to share your experiences or reach out with further questions.